Friday, March 29, 2013

The best baked Mac-N-Cheese

I have made mac and cheese until my heart is content... boxed that is.. I have also made this recipe several times, unaware of how big of a hit this is with family, friends and every one I have every shared it with. Now, I am no chef.. I am not even trained.. but I learn what I can when I can. I am a culinary sponge! Now that the back ground is out of the way, here is how I came across how to make a cheese sauce. When I worked in an assisted living facility in Charlotte, NC (in the kitchen) I was taught how to make a rue and then how to make an Alfredo sauce from scratch. Alfredo was easy.. rue, heavy cream, Parmesan cheese and seasonings to taste. I took the same concept and applied this to mac and cheese. I do not use heavy cream with mine just whole milk and I like to try different types of shredded or block cheese.

Another fun thing we did on this particular night we made the noodles turn blue  (another Pinterest idea/ pin)... Which with the plethora of children we now have in our home, makes it fun for them. Who said dinner couldn't be fun right?!?!


The best picture I could get of the blue boiling water with elbow noodles :)


While the noodles were boiling I started on the cheese sauce. I used about 2 1/2 tablespoon of butter and melted that into a sauce pan. Once melted I added about 2 1/2 tablespoons of flour until it created a paste, of course you want to let it cook for about 30 seconds to 1 minute to cook out the flour taste. Once the paste comes together you want to add about 2 cups of whole milk. During this whole process I like to use a whisk verses a spoon, it seems for me to work better in the creaming of all ingredients.


This is how mine mixture looked after adding about 1/2 tsp salt, 1 tsp pepper, 1 tbsp garlic and 1/2 tsp paprika (love the smoked flavor)


Once you have the rue, milk and seasonings combined you want to slowly stir the mix until the sides of the sauce pan start to bubble (yes, this is a very involved process, DO NOT walk away from the sauce, milk boils into a foam quickly!!) Once you see the bubbles forming it in now time to add the cheese :)


On this night I wanted a white cheese sauce for the blue noodles. I used about 1 1/4 cup of Wisconsin smoked mozzarella cheese and about 1/2 cup of the mild cheddar


Stirring, Stirring, STIRRING.. stir the cheese in until it is well combined with the milk. 


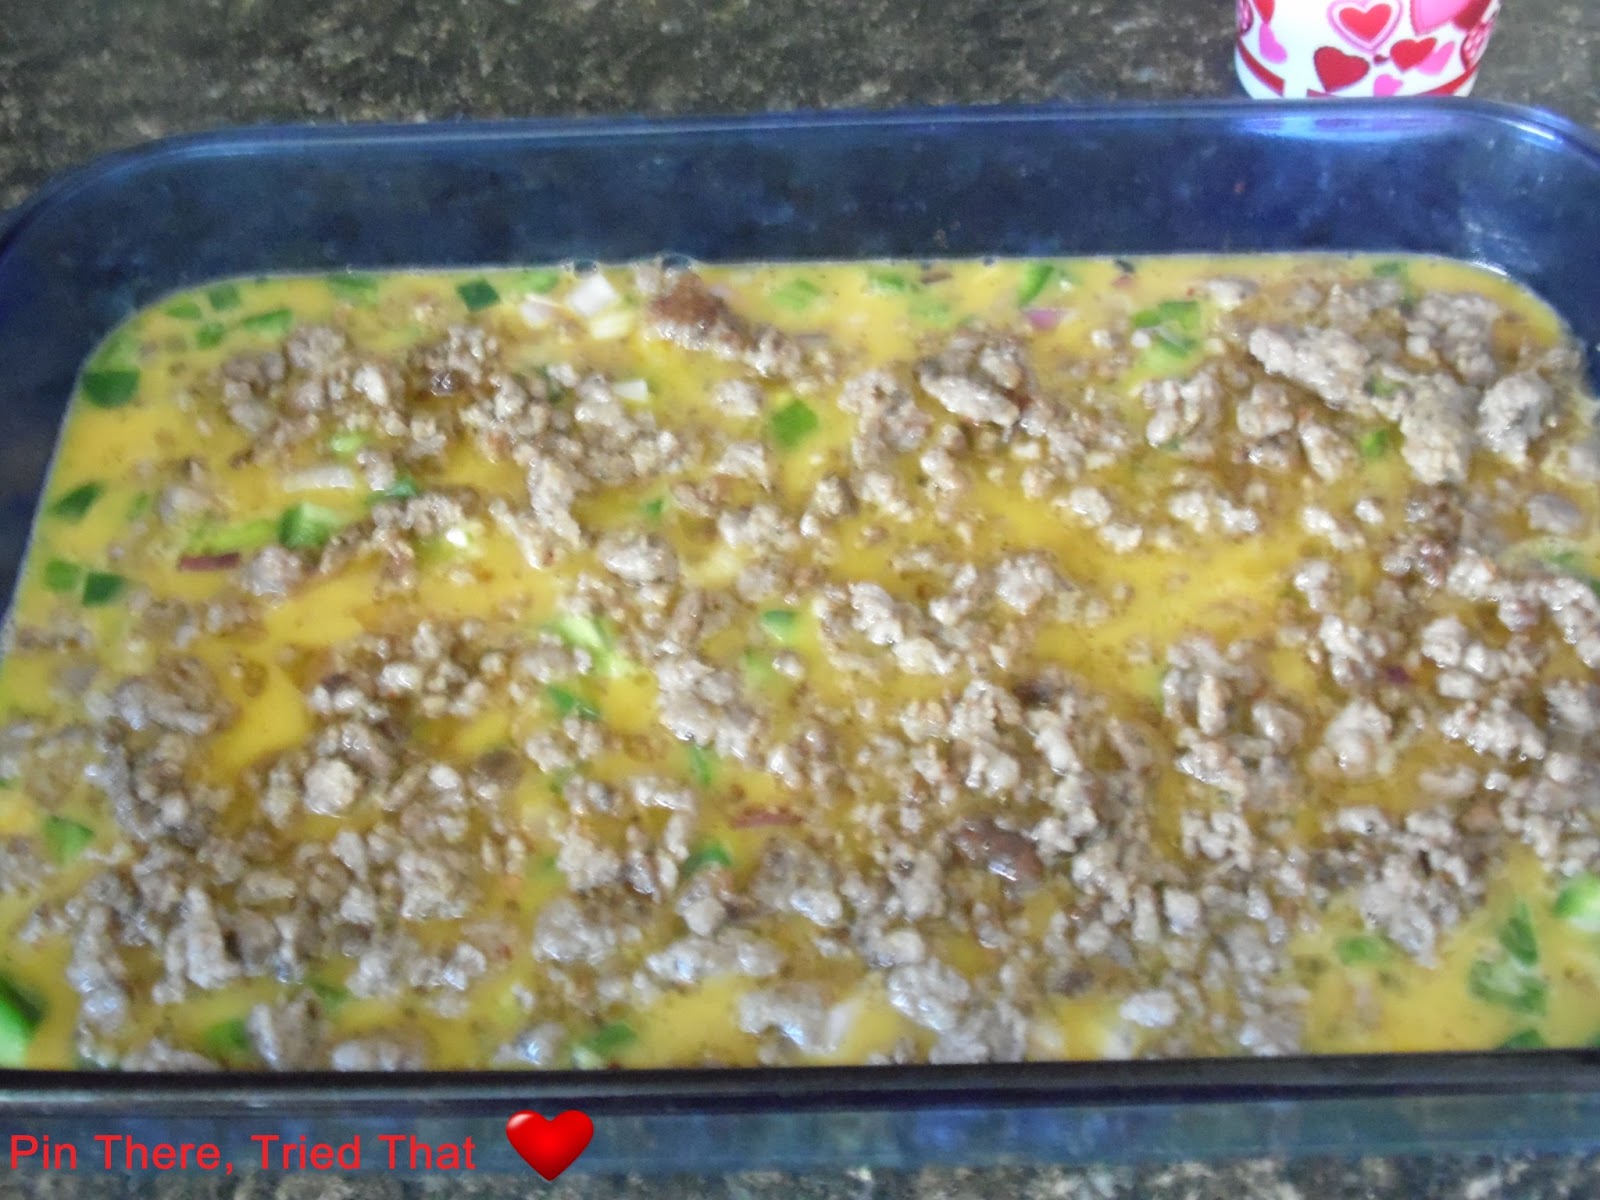
Once the sauce becomes thick you want to turn the heat OFF. With this type of sauce the longer it stays on the heat the thicker it continues to get. Now me personally I do continue to stir the sauce even after it has been removed from the burner to insure it is well combined. I have not had any issues with over stirring. I usually add the sauce to the cooked and drained noodles in the pot, then pour the whole mix in the a lightly sprayed casserole dish.


Blue noodles white sauce :)


I like to have cheesy mac-n-cheese so with the left over cheddar cheese I sprinkled it over the top of the mix and place this into the oven at 375 for about 15 minutes (or until the sauce starts to bubble around the edges and the cheese is completely melted)

I have to say the smoky flavor from the cheese was amazing!! I do believe EVERYone had seconds on mac-n-cheese that night! I will say once you make this you will be hooked and it will be soooo very hard not to crave and want to make this baked mac-n-cheese for every meal!!

The Recipe:

2 1/2 Tbsp butter
2 1/2 Tbsp flour
2 Cups whole milk
1/2 Tsp salt
1 Tsp pepper
1 Tbsp garlic powder
1/2 tsp paprika
1 1/4 Cup smoked mozzarella cheese
1/2 Cup mild cheddar
1 Pound elbow noodles
15 drops blue food coloring

Boil water, add food coloring and noodles boil til cooked. In medium sauce pan add butter and melt on medium high heat. Once butter is melted add flour and whisk together to for a paste. Once paste is formed add whole milk, salt, pepper, garlic powder and paprika. cook until you see bubbles forming around the edge of the pan. Add cheese a little at a time whisking continuously. Once mixture thickens remove from heat. Add sauce to the cooked and drained noodles. Pour noddles and sauce in to a lightly greased casserole dish and cook at 375 degrees for about 15-20 minutes, or until the mac-n-cheese is bubbling around the edges.


The Sites:
http://tonispilsbury.com/the-lorax-dinner-makeover/ - dying noodles

This is a fantastic throw together recipe for church gatherings, family get togetherness and so much more!

Now its your turn to go and experiment with different types of cheeses and create your own favorite Mac-N-Cheese!!

<3 T

Tuesday, March 26, 2013

Oven Roasted Chicken with Salsa

No that is not a typo in the title.. chicken!! It most definitely has been a while since this family has had chicken so why not spruce it up?!?! I came across 5 nice sized chicken leg quarters and struggled with what to do with them. I did not want to do the same ol same ol, whether to bread and fry it, Italian dressing and bake it.. bread it and bake it.. its all had been done. Something new needed to be done to introduce chicken back to our palettes!! :)

I took some olive oil and place in the bottom of two casserole dishes. I rubbed the bottom side of the leg quarter in the olive oil the sprinkled salt, pepper, garlic powder and paprika over it, then flipped it over. Putting the seasoned bottom down in the casserole dish it left the top to be seasoned. So again I sprinkled the chicken with salt, pepper, garlic powder and paprika. I then place a few fresh leaves of parsley and cilantro on the top of the chicken like so...

The next step.. optional..lol I had made some killer salsa from canned tomatoes, fresh cilantro, basil and parsley. The flavor once it sat for 2 days in the fridge.. unbelievable. Not spicy, unfortunately, but chalk full of flavor! This is what it looked like after I spooned about 2 1/2 tbsp of salsa on each leg quarter..

Now on to the oven.. I preheated my over to 375, knowing the chicken was pre-thawed, and close to room temp I hoped and prayed about 1 1/2 hours to 2 hours would be long enough. It did take about 2 hours for the leg quarters to cook thoroughly. I did check it with a meat thermometer and the temp was around 170 degrees! Success...


The kids loved it.. Both Emma (4) and Tristan (6) had seconds on the chicken!! I love it when everyone including, at times, some picky eaters :)


The kids plate...


The adult plate...


For this meal I served it with buttered white rice, green beans and pineapple... The kids are now on a pineapple kick, so why not introduce them to a fresh one! Which by the way, I love the fact that all 5 kiddos we have full time love fresh fruit and veggies.. we are truly blessed!!

The Recipe:
(from my head again)
Guestimations on seasoning amounts..
2 tbsp Olive Oil
2 tsp Salt
2 tsp Pepper
2 tsp Garlic Powder
1/2 tsp Paprika
10 fresh parsley leaves
10 fresh Cilantro leaves
5 Chicken leg quarters

Drizzle olive oil in casserole dish. Next, rub the chicken over the olive oil in the dish. This will do two things, first it will coat the chicken with oil and second it will spread it around the dish. Happiness! Sprinkle salt, pepper, garlic powder and paprika over chicken front and back. Place about 2 leaves of Cilantro and Parsley on each leg quarter. Place in over for 1 1/2 to 2 hours. Check the temperature of the meat (should be 165 degrees). Take out once done and let the meat rest for about 5 minutes before serving (helps hold the juice in and keep the meat moist)

Now try this yourself.. if you don't have chicken.. NO worries! I am sure this same recipe could be used on pork or turkey!

Now go be creative!!

<3 T

Monday, March 25, 2013

Cinnamon and Sugar Bread

I actually first made this recipe over a month ago (back during our monthly family get together in February) and it turned out fantastic.. not 1 single crumb left.. then again I did only make 1 loaf to feed 5 adults and 6 children. So today I got smart, I made 2 loaves. Due to recent events I am just now able to blog again (YAY!!) Recent events.. OH NO!!! It's all good... well it wasn't all bad, just strenuous. My husband and I now have full time custody of his two amazing boys Tristan and Hayden, you will start to see them in the pictures, and yes we finally tied the knot. A long time coming but we are on to the rest of our lives together as one amazing family! AND... (no I am not pregnant) we will be breaking ground on a huge multi family garden around May!! So expect more pictures and fun stories that go along with fresh recipes!

Today's helpers brought to me by Hayden and Emma <3
Yes these are my new found "twins". Hayden is 5 and Emma is 4 but darn it they are so much a like!

Now, this bread is super easy and not a whole lot of ingredients either! And amazingly I didn't change a thing!! My helpers and I mixed all the dry ingredients together first (we did a double batch), then added the wet ingredients, Mixed in the mixer just until everything was moist.

Is it done.. YET?!?! Yes the patients of a 5 and 4 year old!

Once mixed we poured the batter in to two 9 x 5 loaf pan (using half the batter) then the most amazing helpers sprinkled cinnamon and sugar over the top...


Hayden being ever so cute!!


Emma doing her thing...


Next we took the remaining batter and poured over the top of the loaf (splitting it as evenly as you can between the two loafs if you do a double batch like I did). Then, lastly I sprinkled so cinnamon and sugar over the top (not too much as it will just make a mess when taking it out of the pan)

In to the preheated over (350 degrees) for about 57 minutes for me, the recipe states 45- 50 minutes. and this is what you come out with...


Fresh out of the oven...


2 loaves all sliced up...
Oh My Yumminess!!... This is so incredibly good.. and not too bad of an afternoon, after school goody!! Can't wait to share with Tripp, Gage and Tristan when they get home from school! 


The Original Recipe:
Ingredients
1/3 cup white sugar
2 teaspoons ground cinnamon
2 cups all-purpose flour
1 tablespoon baking powder
1/2 teaspoon salt
1 cup white sugar
1 egg, beaten
1 cup milk
1/3 cup vegetable oil

Preheat oven to 350 degrees F. Lightly grease a 9x5 inch loaf pan.
In large bowl combine flour, baking powder, salt and 1 cup sugar. Add egg, milk, and oil to flour mixture.
Stir until just moistened.
Pour half of the batter into pan.
Sprinkle with cinnamon and 1/3 cup sugar .
Cover with remaining batter.
Top with more cinnamon/sugar if desired.

Bake in preheated oven for 45 to 50 minutes, or until a toothpick inserted into center of the loaf comes out clean.
Let cool in pan for 10 minutes before removing to a wire rack to cool completely.
Wrap in foil and let sit overnight before slicing.

The Site:
http://whiskandaprayer.blogspot.ca/2011/04/cinnamon-sugar-bread.html

By: Liz

Alright I have taken up enough space.. hehe.. now its your turn to go get in that kitchen of yours, yes the one you walk through every day.. turn on the oven and try this bread yourself! If you love it.. leave feedback, if you dislike it (I am trying not to use the word "hate").. leave feedback. 

Go be creative!

<3 T

Tuesday, March 5, 2013

Breakfast Casserole. Super Easy

The title says it all! So super easy..

I will begin with saying we have an amazing family! Jeremy's cousin made a resolution this year to come up and visit 1 weekend a month for the entire year. So far we have have hit January and February (March is in the works). SO for February I wanted to make a super simple breakfast dish that was all in one and quick to make. To Pinterest I went on the search.. I found a breakfast casserole with crescent rolls, eggs, sausage and cheese. Seemed easy enough.

I truly didn't do anything special other then throwing in some fresh garlic, onions and green peppers.

 That alone looks supper awesome and FRESH.. man do I love cooking with fresh ingredients ANY time that I get my hands on them (come on spring! ready to plant our garden)

So for this recipe you spray the bottom of your casserole dish with cooking spray and roll out the crescent rolls on the bottom. next layer pour 6 eggs ( I believe I used 8 eggs, lot of mouths we were feeding) over the top of the crescent rolls. Now I did salt and pepper the eggs. I then sprinkled in the garlic onion and peppers. I then took some of our amazing fresh sausage patties browned and crumbled and sprinkled it over the top of the egg mix. Lastly I sprinkled about 2 cups of sharp cheddar cheese over the top.


I then placed the whole dish into a 400 degree oven for 20 minutes... aaaand....

Something amazing happened in that oven and all the fabulous ingredient came together to give us and super breakfast. Everyone got a square and NOTHING was left over! (There was also 5 adults and 6 kids feed from this)

This is a must try for anytime of the year with any amount of people (of course if you have more then 11 you better prepare 2 or more!)

I also, had time to spare to make Cinnamon Sugar bread to serve with it.. Oh yeah be looking for that recipe too!

The Recipe:

You Will Need:
6 eggs
1 can of Pillsbury Crescent Rolls
1 package Jimmy Dean Sausage Crumbles
1 cup shredded cheese
salt and pepper to taste

Spray cooking oil in a cake pan. Spread crescent rolls out evenly on the bottom of pan, making one large rectangle. Mix 6 eggs in a bowl (making sure to pop all the yolks) with salt and pepper and pour on top of crescent roll dough. Pour sausage crumbles evenly over everything. Shred about 1 cup of cheese over it all and pop it in the oven. Bake at 400 for 20 minutes.

The Site:
http://improvisedcreativity.blogspot.com/2012/05/quick-easy-breakfast-caserole.html

By: Andi Weaver

Now off with you.. go get in the kitchen and be yourself and create what you love!

<3 T

Venison Backstrap in Mushroom-Onion Gravy

As my wonderful hubby and in-laws have told me venison back strap has to be the best meat off the deer. So for Tripp's 14th birthday he saved a backstrap specifically for his birthday dinner. I wanted to try something different with it. No battered and fried or seasoned and seared. Ok confession the southern in me comes out just at the right time and all I could come up with is floured "fried" and smothered in some sort of gravy and onions.. thus leading to yet another fantastic venison recipe.

There really isn't much to what I did. I took 2 eggs just mixed them up with about a tablespoon of milk for an egg dip, then took about 2 cups of flour and mixed in 1 tablespoon of pepper and garlic, 2 teaspoons of salt and paprika. I butterflied the backstrap (butterflying, if I can explain it right, is where you take a thicker piece of meat and start to cut it in half but not all the way and through the thick part of the meat) dipped the meat in the egg then coated in the flour and placed it in a pan with about 2 tablespoons of olive oil. I browned the meat on both sides then places in to a pot. Once i had all the meat cooked, I took about half of a medium onion and cut it into slices then cut the slices in half. I through the onion and about 2 cloves of garlic chopped up and sweated them in the pan til the became "soggy". I then added in a can of condensed cream of mushroom soup with half a can of water and completely deglazed the fry pan. once the gravy thickened I pour it over the top of the meat and simmered in the pot for about 20 minutes.


This was right after I poured the gravy and onions over the top of the meat...


This just looked so darn tasty it was super hard to take pictures with out just sitting down to eat...


This is Tripp's birthday steak! cooked to his liking, so super tender and the flavor was spot on! I definitely recommend this recipe. If venison is not on hand you a tender cut of meat and go to town!


Now since this is Tripp's special dinner I will include his cake.. what.. what.. BONUS!!

Nothing fancy with this. A simple white cake mix from the store... doesn't even matter the brand. Now with his cake I got a little funky as I could only find ONE of my round cake pans and it is a layer cake! :(

Make and bake according to the instructions on the box.. simple I know!!

Now, his favorite jelly is blackberry and since it is hard to find a blackberry frosting I went with jelly in between the layers..


I did get ambitious and attempt to make another frosting which was a complete flop for me.. it never set up and I beat the daylights out of it like the recipe said plus some.. haha.. So Sister-in-law to the rescue (where would I be with out her!!) What goes good with Blackberry.... well nothing else other then... LEMON frosting! She is the best!!

Black and blue candles.. Only my kid would have favorite colors that represent bruising!.. sheesh.. BOYS!!

This was so good and I promise there was only 1 piece left and it was promise to cousin's husband who couldn't make our family weekend!

Of course I had to take a picture of the cut cake! Yummy!! and the flavor sooo good!!

If you try either recipe AMAZING.. if you don't and just like to read.. super if nothing at all.. well you don't know what you are messing out on!

HAPPY BIRTHDAY MY SWEET TRIPP!!! <3

No go be creative.. bake, boil, sautee something :)

<3  T